These cards are perfect for small treats, gift cards, or just lots of space for a fun note to someone special!
Tips for making this card:
- The cool thing about this style of card it is holds itself closed all by itself. You just tuck the flaps down like you would a moving box that you didn’t want to tape (and if that makes no sense, don’t worry! I have it all covered in the video below!)

- However, if you want to add a little flair, consider adding a belly band. All you need is a 1” x 11” piece of cardstock and your favorite punches to make a fun centerpiece.

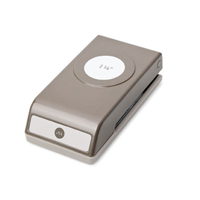
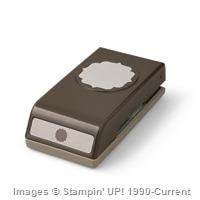
- And if you are looking for a cool layering idea, I love this Label Bracket punch behind a 1 1/4” Circle punch!

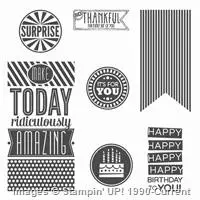
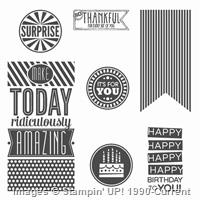
- Decorate your inside with a 4”x4” piece of cardstock matted with a 4 1/8” x 4 1/8” piece of cardstock. PS – the Happy Happy Happy Birthday sentiment fits perfectly in the bottom corner and still gives you lots of room to write!


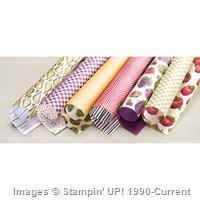
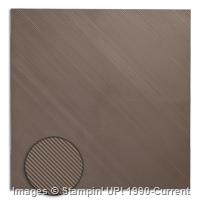
Oh, and to actually make the card itself (it would be nice if I gave you dimensions for that too, huh?) start with an 8”x8” piece of designer paper and score DIAGONALLY at the 3” mark.
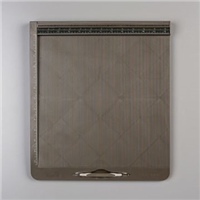
Cut out the triangles where the score lines cross and then take out your diagonal scoreboard and score at 1” from the top of the paper to the point of the cut triangles. Sorry, I didn’t think to take pictures of these steps so it may just be easier to skim through the video and see the cutting and folding. But I promise it goes together easy peasy!
Pinwheel Fun Fold Video Tutorial
Note: if you are viewing this blog post in email, click here to view the video
I also mentioned in the video that you could order extra project kits for my entire fun folds class. Purchase the Project Kit here.
Project Supplies Used:
Built for Free Using: My Stampin Blog

![NWstamper signature_thumb[9] NWstamper signature_thumb[9]](https://i0.wp.com/www.nwstamper.com/wp-content/uploads/ad87b4046c1e_C9F6/NWstamper-signature_thumb9_thumb.png?resize=322%2C118)



One response to “Walkthrough Wednesday: Pinwheel Fun Fold Card using your Designer Paper”
Love this fancy fold.
Could you email me the link for the one you attributed to Dawn Griffith (aa Dawnsstampinthoughts please)