
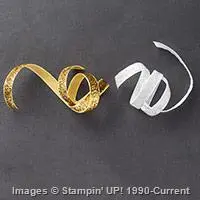
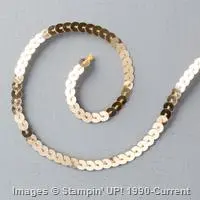
I’m so excited to be able to join a fun blog hop today for the first time! Welcome to the Grand Vacation Achievers Blog Hop for December. This is a monthly blog hop with many fabulous and talented Stampin’ Up demonstrators who work and play hard with their business. ![]() This month our theme is Bring on the Bling. You know I love me some sparkle and shine but I thought I’d be a bit different from my regular rhinestones (or even glimmer paper) and share some ideas using the fabulous – but retiring – Gold Glitter Ribbon!
This month our theme is Bring on the Bling. You know I love me some sparkle and shine but I thought I’d be a bit different from my regular rhinestones (or even glimmer paper) and share some ideas using the fabulous – but retiring – Gold Glitter Ribbon!
Holiday Catalog Ribbon – Perfect for Any Occasion!
I wanted to share a couple ideas that used some of the Holiday Catalog items that are retiring in a few days that can give some bling and shine any time of year. Like this Birthday Card featuring the Winter Wonderland Specialty designer paper & the Gold Glitter Ribbon.
Tips for making this card:
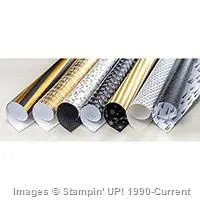
- Look for “anytime” patterns in your “Holiday” designer paper packs! I had the Winter Wonderland designer paper in my stash and because it was in the Holiday Catalog in a Christmas section, all I could see in it at first were the snowflakes, acorns, and trees. But when I started really trying to figure out how I could use the paper, I realized there were lots of neutral patterns that were good anytime. Like this crackled glass pattern. Plus, an extra bonus was that it had little shiny gold dots speckled throughout the paper so you got some subtle bling going on. Who said gold is only for the holidays?
PS – this paper pack is retiring on Jan 4th but yay! it is on sale as part of the Year-end Sale!
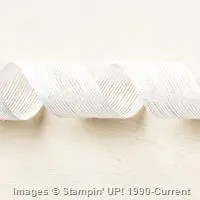
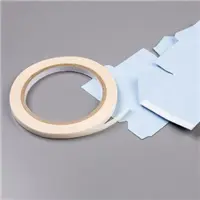
- Layer your ribbon for cool new looks – The next thing was that I liked the idea of the Jute ribbon… but it was too wide and plain as it was. So why not spiff it up and layer your favorite ribbon over it. Adds a whole new dimension don’t you think? I thought it helped balance the bright and sparkly gold in the Gold Glitter ribbon. You can use SNAIL tape runner to adhere the ribbon together, but I might suggest a stronger adhesive like the Tear Tape to make sure that your gold ribbon really gets a good grip on the slightly fuzzy Jute Ribbon below.
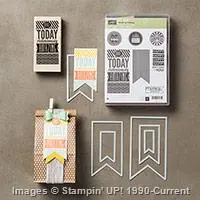
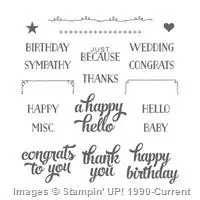
- Perfectly cut out banners from the Amazing Birthday stamp set with the bundled Banner Framelits – Did you know that the Banner framelits are a perfect match for the Amazing Birthday stamp set I used? The stamp images fit great inside the different banner shapes for easy cutting. Plus, you can get them together in a bundle and even save 15% off both. How sweet is that?

So now moving on from Birthdays, another type of card that I need all the time is a Thank You card. I was trying to use up some scraps on my desk and stumbled onto this design. I loved the touch of gold at the bottom of the card.
Tips for making this card:
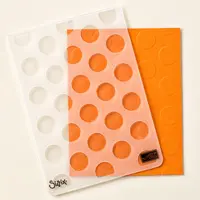
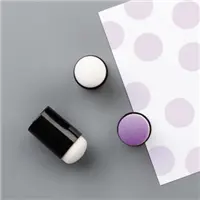
- Get fun effects by mixing your embossing folders and ink! These cool polka dots are easy to do! Just grab the Large Polka Dot embossing folder and the use a sponge dauber to sponge ink directly INSIDE the indented side of the embossing folder. THEN put your paper in the folder and run it through your Big Shot. As the paper is smashed into the impressions in the folder, they will also be pressed uniformly into the ink creating cool distressed looking dots of color on your paper!

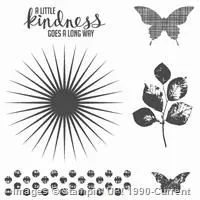
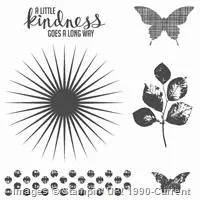
- Layered punches really help them stand out – I had fun with my cutting and punches here. Start by stamping the leaves from the Kinda Eclectic stamp set and then cut those out (yes, it has to be by hand… sorry
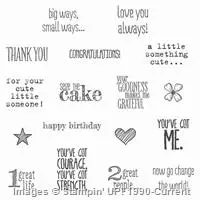
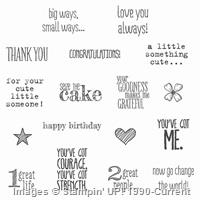
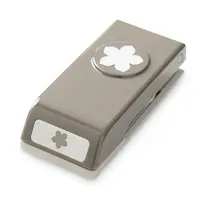
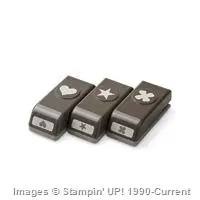
 ) and then grab your punches! I used my Petite Petals punch to punch out the Blackberry Bliss flower. Then stamped onto white cardstock, the little flower from the Something to Say stamp set and punched it out using the Itty Bitty Accent punch pack. They all layer together for a fun, unexpected flower!
- Mix your metallics – Finally, just because I had used gold by adding the touch of the Gold Glitter ribobn at the bottom of the card… don’t you think it just grounds the card nicely? I decided to add a hint of gold into the rest of the card by adding two gold sequins from the Gold Sequin trim next to my flower. Just enough to balance the gold ribbon, but not too much that we are worried about getting gaudy or feeling like King Midas was having a field day with the card! I stuck with gold but you can also get some fun looks by mixing gold and other metallic colors too. So have fun and play around.
So I hope you’ve enjoyed these two ideas for adding some bling to your projects that you can not only use anytime of year… but you can also use the Gold Glitter Ribbon to add some bling to GUY cards too! I’d love to hear what you think!
But keep the great ideas going by checking out the other ideas and inspiration you don’t want to miss. Remember that currently you are at my blog – JENNIFER BLOMQUIST, so check the blog hop line up list to see who is next in the list. ![]()
![NWstamper signature_thumb[9] NWstamper signature_thumb[9]](https://i0.wp.com/www.nwstamper.com/wp-content/uploads/ad87b4046c1e_C9F6/NWstamper-signature_thumb9_thumb.png?resize=322%2C118)
Use Hostess Code BEFX37ZS at check out to get a special thank you from me!
NEW ITEMS ADDED – BIG Year-End Clearance Sale! See what is on sale here.
See all the tutorials & classes by mail here
Check out the Holiday Catalog Retiring List & Sold Out Updates
Save 25% on the Latest Weekly Deals





11 responses to “Bling Up your Card with Glitter Ribbon–A Birthday & Thank You card (BLOG HOP)”
Great job with these cards!
Gorgeous projects Jennifer!
Beautiful, clean design with just the right amount of bling! Love it!
Great cards! Love that glitter ribbon!
Great Cards Jennifer. Angexx
Gorgeous creations Jennifer! Love love love that sparkly ribbon!
lovely!
Jennifer, your cards are FABULOUS!!!
Love that ribbon on the cards – adds just the right amount of bling.
Very pretty Jen!!
Great reminder about finding everyday patterns mixed in with the holiday papers, and fun combination of elements! Love the embossing technique, too!