I don’t know about where you are in the US but up here in the far Northwest, we are trying not to melt! We have been hit with a week of 85+ degree weather… which wouldn’t be too bad except none of the houses here have AC! And I’ve spent the last 2 days outside in my Garage running my Craft Garage sale. ![]() But now today I get to stay inside in our basement and cool off and craft, craft, craft! I’ll be making all the samples for my Fun Folds Technique class on Tuesday & the Playing with Color – Meet the In Color class on 7/7!
But now today I get to stay inside in our basement and cool off and craft, craft, craft! I’ll be making all the samples for my Fun Folds Technique class on Tuesday & the Playing with Color – Meet the In Color class on 7/7!
You can still RSVP or order a kit by mail if you hurry!
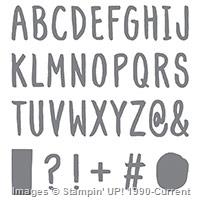
But for today, I have a card to share that is one of my favorites using the new Layered Letters alphabet stamp set…. check it out:
This card is so easy to do and has a totally fun vibe to it! Here are some tips for making it at home:
Tips for making this card:
- The new Layered Letters stamp set is one of the Photopolymer cling sets. The nice thing is that the letters are really closely cut, so you can place both the “H” and the “I” on the block at the same time and have normal spacing!
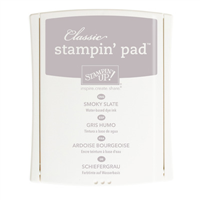
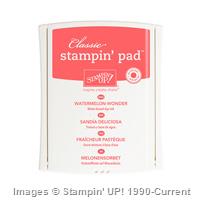
- When you put the “H” and “I” on your block at the same time, stamp your Watermelon Wonder (red colored) Hi first, then clean off your stamps and then start inking with Smoky Slate and then just stamp in rows starting with the “Hi” to the left and to the right of your red “Hi”
- Stamp on a slightly smaller than your card front piece of Whisper White cardstock (this was 3 3/4” x 5” paper)

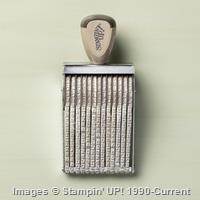
- Stamp any extra words, like the “there” onto a contrasting cardstock color like this Delightful Dijon cardstock. Make your own custom words to you can say exactly what you want by using the Alphabet Rotary Stamp for that extra word – you get 13 letters, numbers, spaces, or symbols to work with!

- I added a little rhinestone for just a little touch of sparkle…always have to have a little sparkle!
- Pop your stamped layer up on Stampin’ Dimensionals before adhering to your card and you are good to go!

Ok, now I’m off to stamp! I’ll be back tomorrow with more fun ideas… specifically, I’m going to try to come up with some great ideas you can use if you decide to take advantage of the TWO Free Stamps when you get the Starter Kit deal! So you can get an idea for all the awesomeness you can get in your starter kit PLUS what you can make with those goodies!
![NWstamper signature_thumb[9] NWstamper signature_thumb[9]](https://i0.wp.com/www.nwstamper.com/wp-content/uploads/ad87b4046c1e_C9F6/NWstamper-signature_thumb9_thumb.png?resize=322%2C118)
Project Supplies Used:
Built for Free Using: My Stampin Blog





One response to “Clean and Simple Hi Card with the Awesome Layered Letters”
Your card went on my “Favorite Cards” board on Pinterest without hesitation. I LOVE it!