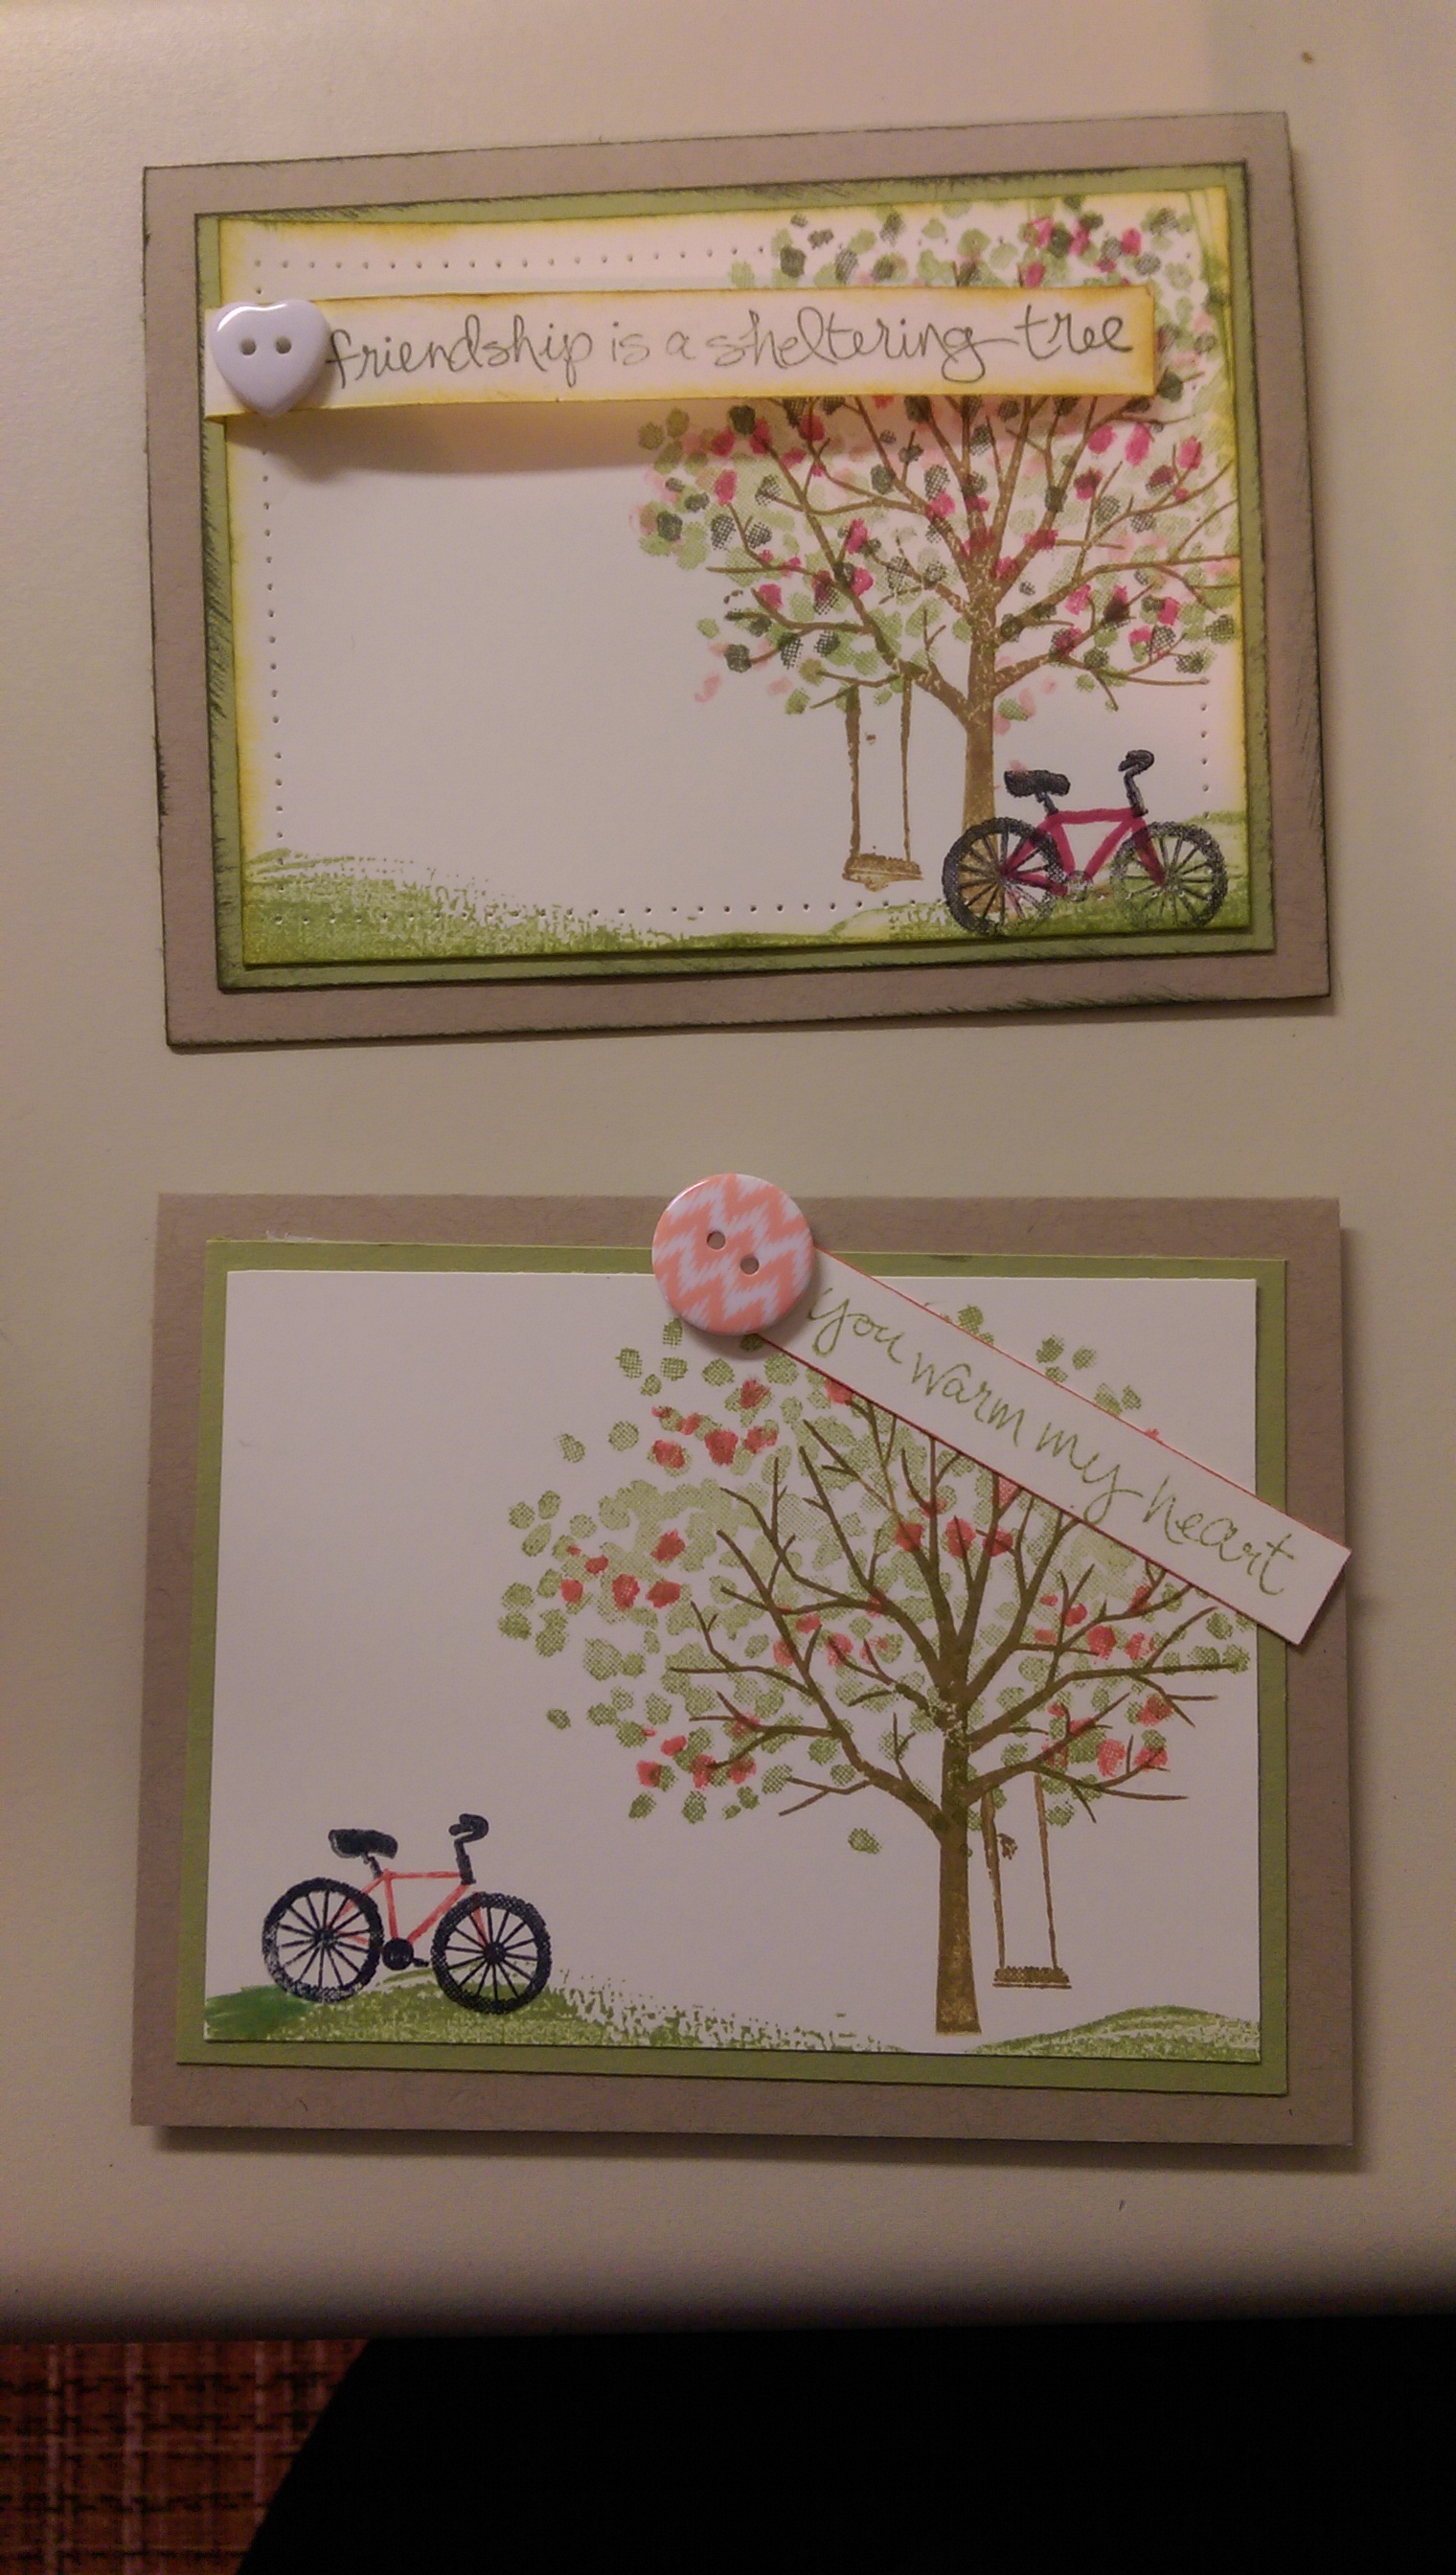
Are you in love with Sheltering Tree? This was the surprise favorite from the Occasions Catalog this year and I love how versatile it is. So I thought I’d share one of the cards we did for Stamp Club recently:
The stamp set is photopolymer (that completely clear stamps) so it makes it really easy to perfectly layer the stamp images. And then you can even mix up your colors and designs like some of the ladies did here:
And I thought I had gotten pictures of some of the other images – like the pink trees for Cherry Blossoms like we have all over up here in Washington.
Tips for making this card:
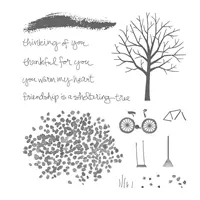
- When you stamp your trees, I always start with the trunk, then add your elements. Use the big dotted stamp to make your base leaves
– green for spring
– pink for cherry blossoms
– yellow/orange for fall - Add accent flowers or leave color variations by using the little dots stamp (see below with the red arrow pointing to it)

T echnically, those little dots are perfectly aligned to be flower heads on top of the little grass stems… but its all about versatility! - When stamping your bike, stamp the tires/handlebar image first. Then grab that little triangle bar stamps for the frame and add those in! Or as it has been known in class – the kite or the tent!

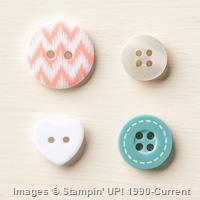
- In this card, I loved the Sweet Dreams designer buttons from the Occasions catalog. Especially the Lost Lagoon one with the stitching! It went perfect with my paper piercing around the edge of the card.
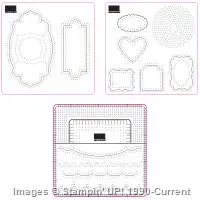
- And if you want your paper piercing to be perfect – use the Essentials Piercing pack! One of the templates gives you perfect rows, so you can line up the edge of your template with the edge of your paper and get perfect spacing everytime.

- Add a little Hello Honey sponging around the sentiment for a touch of sunlight to your card.
Sweet, Simple, and Done!
Project Supplies Used:
Easy shopping anytime! Click the images below to see the item in the online store.
Built for Free Using: My Stampin Blog


![NWstamper signature_thumb[9] NWstamper signature_thumb[9]](https://i0.wp.com/www.nwstamper.com/wp-content/uploads/ad87b4046c1e_C9F6/NWstamper-signature_thumb9_thumb.png?resize=322%2C118)


One response to “Enjoying Spring with Sheltering Tree”
Gorgeous card!