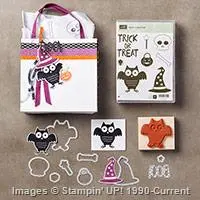
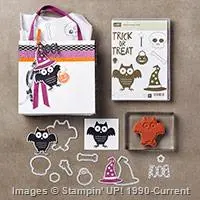
When I splurged on this Howl-o-ween stamp set, I did it because I was just loving this super cutie pie owl. Something about him made me smile and so I had to splurge and get the set. Since then, I’ve done some Halloween themed projects, but when I was getting ready for a card class recently, I decided to give him a go in a NOT Halloween fashion. I think it turned out pretty cute, don’t you?
Use different colors and keep to your basic sentiments and this owl is happy to deliver any message you could want!
Tips for making this card:
- If you are going to get the Howl-o-ween stamp set, you really ought to upgrade to the bundle. Not only do you save that 15% off both the stamp set and framelits, but there are framelits for ALL the shapes in the stamp set. So you can cut out everything you would want quick and easy (and I KNOW some of you are not a fan of fussy cutting, so that is a total win for you!)

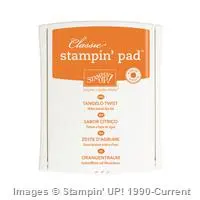
- I kept this card in fall colors, but you could easily shake things up and do a spring, summer, brights, pastels, whatever color scheme you want. Like this one? I used Tangelo Twist, Rich Razzleberry, Soft Suede, and Crumb Cake.
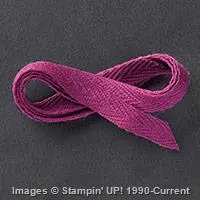
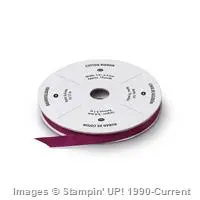
- Mix your ribbons! It may be a little hard to see, but I combined TWO Razzleberry ribbons. I started by adhering a long strip of the NEW Into the Woods cotton ribbon – being sure to not have adhesive in an area over my circle. Then I tucked a small piece of the 1/4” Rich Razzleberry cotton ribbon under where I had not used adhesive and used that spot to tie the smaller ribbon into a knot. The color is the same but the ribbon size and textures are subtly different.

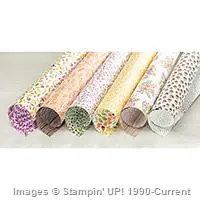
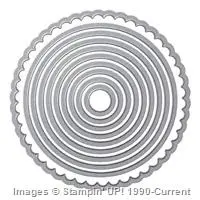
- I used my Circles framelits to cut out a pattern from the Into the Woods designer paper (sensing a theme here?) and then used the next size up circle to cut out a Soft Suede cardstock circle.
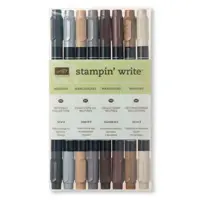
- When your matted circle looks a little too plain, grab your Stampin’ Write marker and use the same color ink to faux stitch around the circle (ie – draw little lines so it looks stitched)
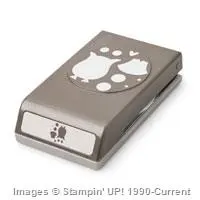
- The owl is cute, and had tiny dots for eyes, but brighten him up by using the Owl Builder Punch and layer on some slightly bigger eyes, like these with Rich Razzleberry cardstock

So, super cute, and fun to make. And has lots of little details without being over the top.
What do you think? Good enough for a non-Halloween use? ![]()
Project Supplies Used:
use Hostess Code FHRCKER7 to get a special thank you from me!
Built for Free Using: My Stampin Blog

![NWstamper signature_thumb[9] NWstamper signature_thumb[9]](https://i0.wp.com/www.nwstamper.com/wp-content/uploads/ad87b4046c1e_C9F6/NWstamper-signature_thumb9_thumb.png?resize=322%2C118)
