Holy mackerel! Valentine’s Day has snuck up on me and I can’t believe we are less than a couple weeks away! Good thing is… there is still time to make your Valentine’s Day treats and cards. And yes, there is still time to order those last minute supplies and get them in time to play before the holiday! ![]() So, to get you all fired up and inspired for all the love-filled creations, I’m joining up with the Inspire, Create, & Share crew on a Blog Hop all about Love!
So, to get you all fired up and inspired for all the love-filled creations, I’m joining up with the Inspire, Create, & Share crew on a Blog Hop all about Love!
I’m one of 14 stops on the hop, so if you are joining me from Darla’s blog, welcome! I have a fun project to share today… a Valentine’s Treat Pouch I made as a bonus project for my Stamp Club. It is fun to make and quicker than you might think!
Jennifer’s Project Tips:
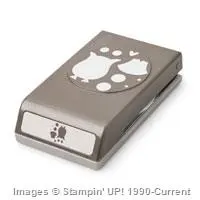
- It all starts with an adorable owl – The very first thing I designed for this project was the Owl. If you haven’t used the Owl Builder punch before, you are missing out on so many cute projects! From owls, to penguins, to reindeer, it is a super versatile punch!
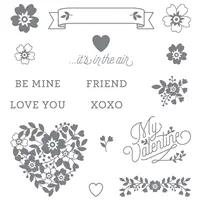
But even when you are making a simple owl, don’t hesitate to dress her up! I used the small flower flourish from the Bloomin’ Love stamp set and stamped it onto a scrap of Pink Pirouette cardstock before punching out the tummy for my owl. It is like she is wearing a pretty dress! Then punch out two of the hearts from the same punch and glue them together over her ear for instant bow. BAM! Cute or Super Cute??
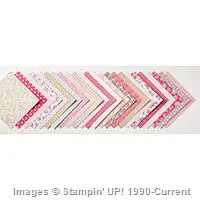
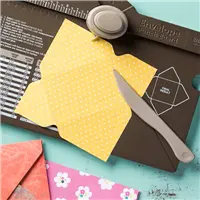
- Create a custom treat holder with the Envelope Punch Board – I was trying to decide what to put my owl on, when it hit me! I could use the envelope punch board along with the cute Love Blossoms paper stack to quickly make the treat holders.
– Start with a 6×6 piece of patterned paper (good thing this paper pack comes as a 6×6 pack!)
– Use the envelope punch board to create an envelope. Start at the 2 5/8″ score line and score and punch as normal.on all sides (video tutorial for the punch board).
– fold in 3 of the sides but do NOT fold and press the 4th side.
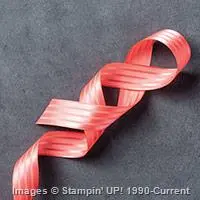
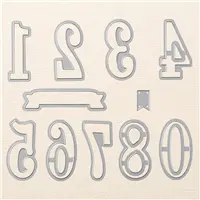
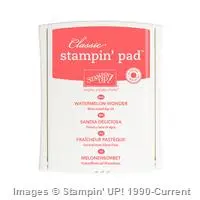
– decorate to your heart’s content! - Have fun with layers! I next created the sentiment – the banner stamp and the sentiment are both from the same Bloomin’ Love stamp set, but did you know? The banner has a matching framelit over in the Large Numbers framelit set! Or trim by hand. Either way works. I stamped my banner first and THEN added my sentiment. But then don’t stop there, add more layers! Try wrapping the treat bag with the Watermelon Wonder satin ribbon and then layering your sentiment and the owl.
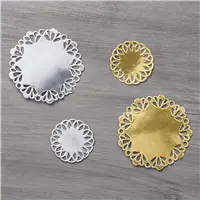
– Want extra credit? Keep it going! Add a gold metallic doily to the front of the bag and adhere a 2 1/2” Crumb Cake cardstock circle for a shiny backdrop.
- But what adhesive to use for what? I used a few different adhesives for this project so I thought you might like a quick guide for it:
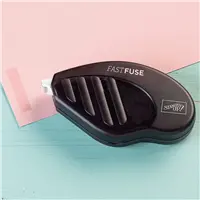
– Holding together your treat bag = Fast Fuse, you want something stronger than your average tape to make sure your treat doesn’t come apart!
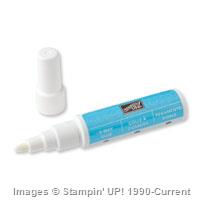
– Layering your Owl = 2-way glue pen, with all these small pieces you are trying to stick together, the glue pen is easy to handle and not messy with your little pieces
– Attaching your Owl = I used one Stampin’ Dimensional to keep her in place
– Everything else = viewers choice! Though my preference is for SNAIL or Fast Fuse, basically some kind of tape runner
So I hope you enjoyed my project and found some new ideas for inspiration! Click the next button below to see what Claudia has created for the blog hop! The next in your 14 stop hop full of love!
![NWstamper signature_thumb[9] NWstamper signature_thumb[9]](https://i0.wp.com/www.nwstamper.com/wp-content/uploads/ad87b4046c1e_C9F6/NWstamper-signature_thumb9_thumb.png?resize=322%2C118)
Use Hostess Code PGHMVNJM at check out to get a special thank you from me!
Pick a FREE item with every $50 you spend! See the Sale-a-Bration catalog.
See all the tutorials & classes by mail here
Save 25% on the Latest Weekly Deals
Built for Free Using: My Stampin Blog






10 responses to “It’s a Love Thing! Inspire Create Share Blog Hop”
Such a sweet treat holder, beautifully layered and I love the owl! 🙂
Very cute! I love all the layers!
Jennifer, so glad you are part of the hop! Love this!
That is adorable!
Very adorable!!!! Cute idea!!!!
Adorable! Thanks for joining our hop we love having you!
SO adorable!
What a cute treat holder, love the front of the owl.
So adorable treat holder! I need to make some of these this week.
Comment