Yesterday was National Scrapbooking Day and while I normally like to celebrate by actually trying to catch up on some scrapbooking pages, this year I opted for some family time as my husband and I had both returned from business trips on Friday. The kids had been with Grandma and so it was our turn to hang out and have fun with them. ![]()
But I did have the honor of getting to create a couple layouts using the Happiness Is kit for Stampin’ Up’s National Scrapbooking Day blog post and they were posted for you to see this weekend! I’ll admit I got a little school girl excited when I saw my name in print on their blog. Though, I discovered that the photos they shared were TINY! So, since one of the coolest things about Project Life is how easy it is to add a little pizzazz to your quick and easy pages, I thought I’d share some up close photos of the details of my layout with you today.
Bear with me, I’m still trying to figure out the best way to photograph my layouts. But the thing I love about Project Life is how easy it can be to put together layouts. I grab a card kit & the matching accessory kit (seriously, this is the BEST THING EVER!) and lay them out on my table and just go.

- Pick a few photos you love
- Print them out wherever is most convenient for you
- Slide them into pocket pages (look! almost done!)
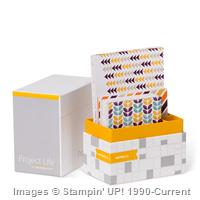
- Pick a Project Life card kit & matching Accessory pack

- Grab some matching cards and write what is happening in the pictures – add embellishments if desired
- Put in your album and you are done!
Here are a few of my favorite things about this layout:
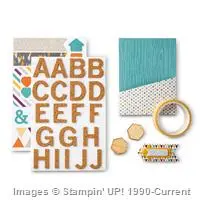
- Layer 3×4 cards onto 4×6 cards with Washi Tape (it’s included in your accessory pack!) for a quick title card. I just had to add the year numbers (also in the accessory pack) and write in the dates!

- Don’t feel like every card has to have writing on it! Sometimes just a couple embellishments or even just the way it is printed is perfect.
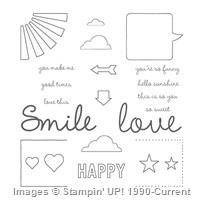
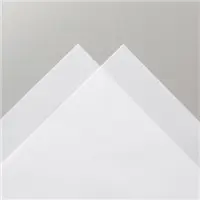
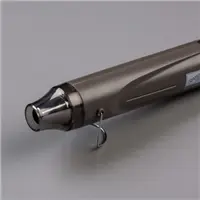
- Bust out your “fancy” techniques like layering vellum over a 3×4 card and heat embossing the sentiment (in this case the “love” from the So You stamp set)

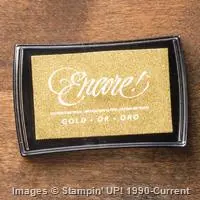
- Don’t forget you can stamp on your photos too! It was hard to photograph, but I stamped the sun image on the bottom photo with the Metallic Gold ink and it was the perfect touch!

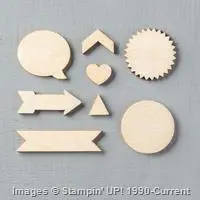
- The Happiness Is kit also comes with these little wood accents that are laser etched with images and words.
A fun little bonus for your layout… especially with that adorable face, am I right?

- I also liked taking multiple stamps and putting them on my clear block at the same time – like these hearts (also from the So You stamp set). They are two separate stamps but I wanted to use them together. Position on your card, press onto the block, and then ink and stamp!


So this layout had a lot of little touches and accents, but it took me way less time than a traditional scrapbook layout and still has all the personal & handmade touches.
If you have photos on your computer, in your phone, printed out and sitting in those photo envelopes from the printer – why not give this a try? Get those photos out where everyone can enjoy them and you don’t need a craft room of supplies to do it! It’s fun, it’s easy, and your family will love it!
Get a Great Deal with 50% off Retiring Project Life Kits
Through June 2nd (or while supplies last) many of Stampin’ Up’s Project Life kits and accessory packs are on sale for 50% off as the patterns are being discontinued! You have great sets for kits, baby, and everyday Including this cute Happiness Is card kit and accessory pack that I used.
So snag them while you can in the online store!
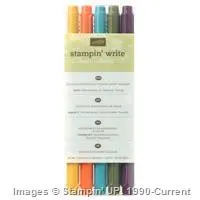
Project Supplies Used:
Easy shopping anytime! Click the images below to see the item in the online store.
Built for Free Using: My Stampin Blog


![NWstamper signature_thumb[9] NWstamper signature_thumb[9]](https://i0.wp.com/www.nwstamper.com/wp-content/uploads/ad87b4046c1e_C9F6/NWstamper-signature_thumb9_thumb.png?resize=322%2C118)
