Now, before I go, I always create some amount of swap cards. Often I will make multiple designs because goodness knows I don’t have the patience for actually making 100 of the same card! This year, I participated in 3 organized swaps and then made extra of those designs to swap out and about with random people. This was my absolute favorite and also my last minute card too! I literally designed and cut for it about 12 hours before my flight left for Salt Lake City!
It is quick to make and yet still has a lot of personality, which I love. So I wanted to share it with you AND I have a Walkthrough Wednesday video tutorial below so you can see how to make it step by step.
Tips for making this card:
- Start with an idea that grabs you and build from there!
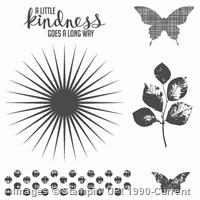
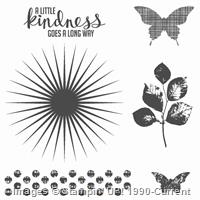
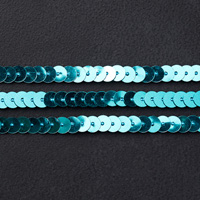
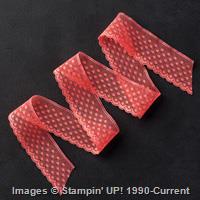
In my case, I really liked the idea of using the Sunburst from the Kinda Eclectic stamp set and having a Gold Foil Star in the center and then I started adding more paper and ribbon from there. - Don’t feel like your ribbon colors have to be a traditional match. Mix and match and you’ll be surprised how fun things can turn out. I used the Watermelon Wonder dotted lace trim and then added a layer of designer paper and a finishing touch of the Bermuda Bay sequin trim.

- Find common elements to pull everything together. Like in this case, I have gold sprinkled throughout and I have “shiny” too! The paper and the star are both gold and the sequins tie in to the star by being shiny!
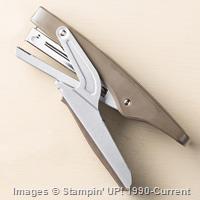
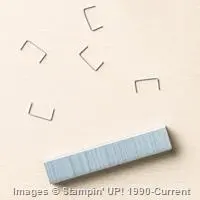
- When trying to attach lace trim and paper, the tape runner (like the Stampin’ Up SNAIL work great) but for sequins, I prefer to either use glue dots to hold the ends down, or use a mini stapler to attach the ends.
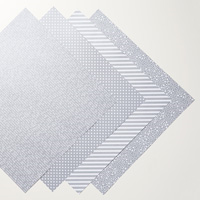
- If you can’t tell, Stampin’ Up has done something new with their Neutrals Designer Paper stack this year and has added in Gold and Silver metallic papers. I like that they are metallic without looking like foil so I can add it in without it overpowering my projects. It is really cool paper!

Want to see how it all comes together? Check out this video I put together to walk you through step by step with dimensions and all the great tips you expect along the way. ![]()
(note – if you are reading this post in email, you can get to the video here)
Need any of the supplies so you can make this yourself? (You can’t go wrong with any of the items I used in this card this week… they are all favorites that I totally recommend!) You can find them all in my Online Store or click any of the pictures below to learn more about any of the supply items.
Thanks so much for stopping by! I hope you’ve been enjoying the Walkthrough Wednesdays… I’m looking at ways to change and improve my blog posts and ways I share my projects and so hopefully I’ll have more fun stuff for you soon. ![]()
Project Supplies Used:
Built for Free Using: My Stampin Blog

![NWstamper signature_thumb[9] NWstamper signature_thumb[9]](https://i0.wp.com/www.nwstamper.com/wp-content/uploads/ad87b4046c1e_C9F6/NWstamper-signature_thumb9_thumb.png?resize=322%2C118)
