In an effort to help encourage myself to stick to the plan to do at least one video a week, and since folks seem to be liking the tutorial videos I’ve posted lately, I’ve decided to start a new feature on my blog – Wednesday Walkthroughs!
The idea is that each Wednesday, I’ll walk you though a card…start to finish…in a video giving you tips and technique tricks along the way. So this is the card I’m kicking things off with:
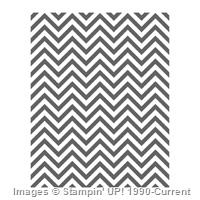
It is a bright and cheery birthday card that you can make in any color that fits your recipient, especially when you use the retiring Chevron Background stamp!
Featured Retiring Products:
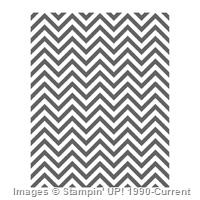
- Positively Chevron Backgroun stamp (wood | clearmount rubber)
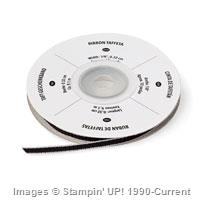
- Basic Black Taffeta Ribbon (sold out)
Get them before they are gone by the end of the month!
Tips for making this card:
- First off, I have to say, this stamp uses a Background stamp, which I love… but I’ve discovered that I don’t love these big stamps in Clearmount Rubber. They are a pain to put the stickers on the back, if you are like me and have to do a sticker that is perfectly lined up, and I like the comfort of knowing that the rubber won’t move around as I’m doing different techniques with the stamp. Now, the clear mount stamps work totally fine… I just wanted to share that I *always* recommend getting my background stamps in wood mount. They make take up a little more room, but I think it is worth it in this case.
- When stamping along the edge of the paper like I did here, turn your stamp upside down on the table so the rubber is facing up and then ink it up. Press your paper onto the upright stamp and burnish with a bone folder to make sure you get a solid image.

- I wrapped my taffeta ribbon around the entire card and glued it down on the FRONT of the card. I know it sounds strange, but since you will be covering up a large portion of the front with the sentiment, hide your ribbon ends under that paper for a clean look on the rest of the card!
- Check out the video below if you haven’t used wax paper with your thinlit dies. It makes getting your die cut out so easy and everything looking perfect!
- Don’t forget some extra accents, I LOVE my candy dots and they are just the perfect touch for this card, don’t you think? Use your paper piercer to make sure they are aligned exactly how you want them with ease! (also shown in the video below)

Wednesday Walkthrough Video
Want to make this card with me? Check out this video and you can do just that!
(ps – if you are reading this in email, click here to view the video)
Quick Links:
- NEW Weekly Deals! See them in the online store

- Retiring Stamps (many 25% off)
- Check out 50% off retiring papers, tools, and accessories!
- Up to 80% off clearance rack finds!
So, if you like this idea for a new video feature on my blog, let me know! Leave a comment here or on the video! Or shoot me a note over on Facebook. I love hearing from you and hope to keep bringing you more fun projects soon!![]()
Project Supplies Used:
Built for Free Using: My Stampin Blog

![NWstamper signature_thumb[9] NWstamper signature_thumb[9]](https://i0.wp.com/www.nwstamper.com/wp-content/uploads/ad87b4046c1e_C9F6/NWstamper-signature_thumb9_thumb.png?resize=322%2C118)
