I hope you don’t mind me sharing another Christmas Card with you today! I know, I know, Halloween has only just passed us by and we still have some time in Fall and Thanksgiving before Christmas time really hits… but well, I just loved this card and since I have it all edited and ready to go, I thought I would share it today instead of making you wait while I work on editing my other card pictures. ![]() Because more craft ideas are better than none, right? Always so many fun idea to try and to share!
Because more craft ideas are better than none, right? Always so many fun idea to try and to share!
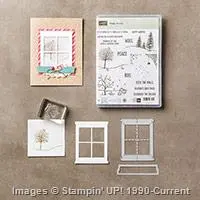
So, I absolutely loved this card. It was cased from Amanda Bates (her card is here) but I just loved it so much I had to make it and share it with my folks in class recently.
Tips for making this card:
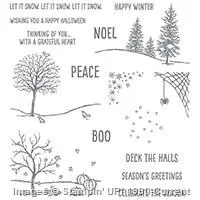
- Start by stamping your background image of the trees using the trees from the Happy Scenes stamp set. This set is awesome because it perfectly fits with the Hearth and Home thinlits to create the window frame. From the spiderweb or frost for the corner of the window, to the fall and winter scenes to fit behind the window frame.

- But don’t feel like you have to keep your background constrained to the window! Let them break free and stretch across the page! In this case, I stamped the trees three times to make it reach all the way across the card front.
- Add the falling snow using smoky slate ink and the snow fall stamp in the same Happy Scenes stamp set.
- Add some color by sponging with Soft Sky using a yellow Stampin’ Sponge over the background to really set the scene.
- Finally I added a little of the Dazzling Details glitter glue to the snow on the trees and along the black lines of my snowy hills.

- Did you notice? The “let it snow. let it snow. let it snow” is the exact right length to fit below the window frame?!
Tip – since this stamp set is in Photopolymer, so you can see right through it. Adhere your window frame FIRST using Stampin’ Dimensionals and THEN stamp your sentiment below. That way everything lines up all nice and pretty.
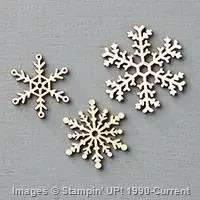
- I needed a little more though, so we added the Wooden Snowflake Element to the corner of the window frame with the rhinestone in the center.

Easy, peasy and oh so pretty! I think I may be making a bunch of these for my holiday card!
PS – don’t forget! you can get the stamp set and the window frame die together in a bundle and save 15% off both! And who doesn’t love a good deal? ![]()
But use Hostess Code FHRCKER7 to get a special thank you from me!
Product Supplies Used:
Built for Free Using: My Stampin Blog

![NWstamper signature_thumb[9] NWstamper signature_thumb[9]](https://i0.wp.com/www.nwstamper.com/wp-content/uploads/ad87b4046c1e_C9F6/NWstamper-signature_thumb9_thumb.png?resize=322%2C118)
